Give us a call or provide your contact details below, and a Dentsply Sirona representative will be in touch soon.

Contact Us
Find the best products for your lab.
Reach out to learn more about what inEos X5 can do for you.

One scanner. Many options.
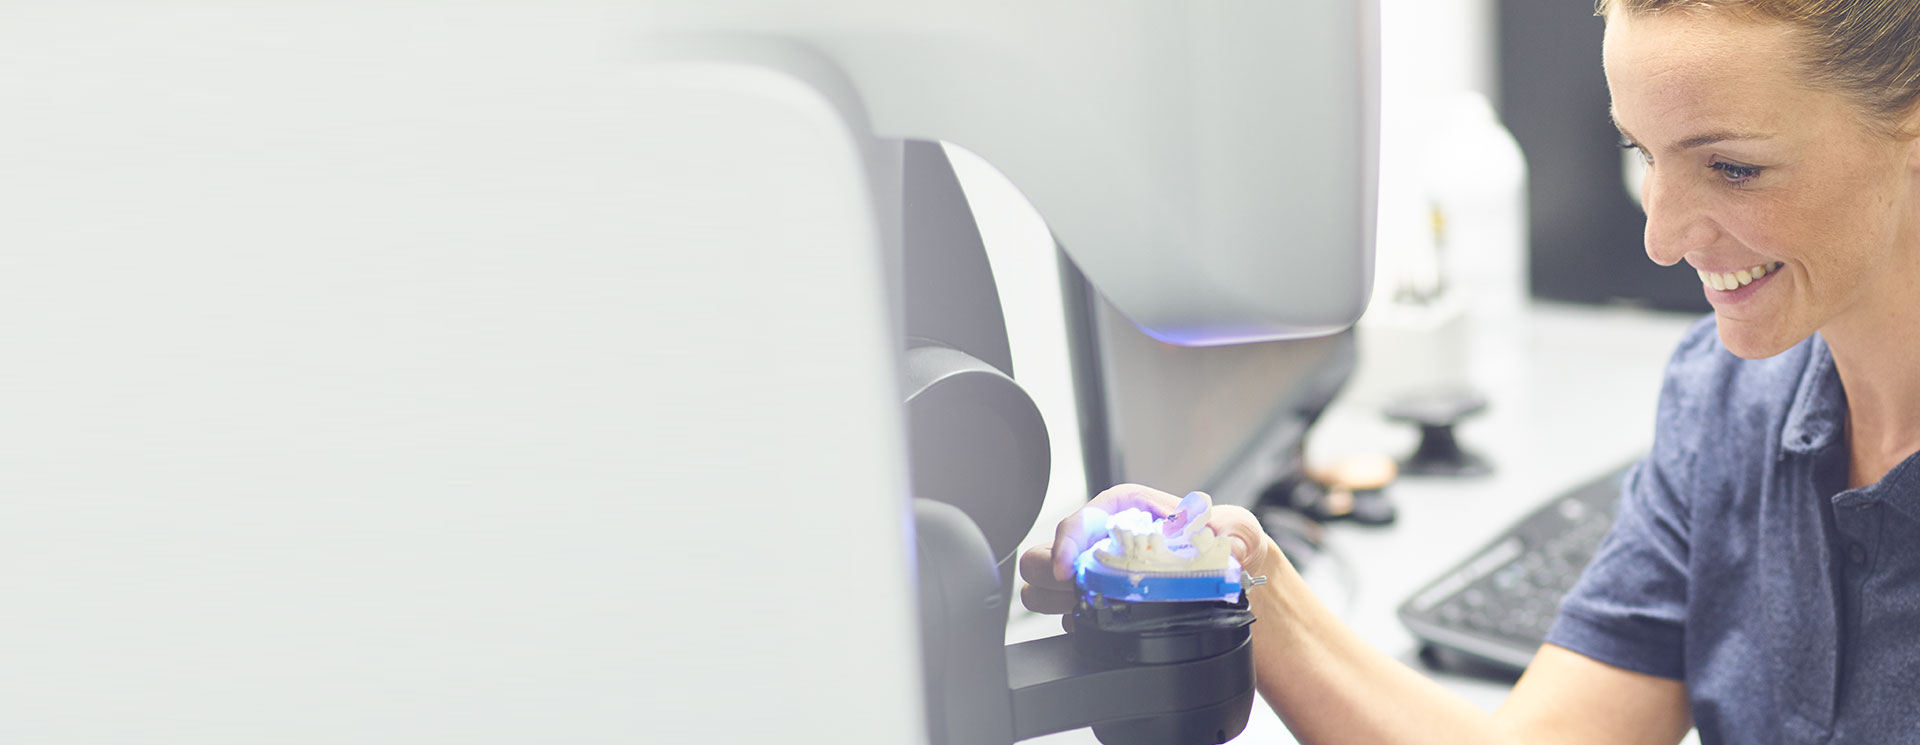
The inEos X5 was developed for the dental lab according to the highest quality standards for optical measuring systems. The scanner ensures high accuracy for all digitisation work of interest to the dental technician.*
The scanner allows you to make scans for nearly all indications and is your lab specialist for every digitisation task. The open scanner combines simple operation with object-specific scanning strategies — for complete freedom of application.
Benefits
Why choose inEos X5?


Proven Accuracy
The accuracy of the results of the inEos X5 with inLab CAD SW 16 was verified according to DIN EN ISO 12836.2015. The demonstrated accuracy on standard “bridge” test specimens was at 2.1 ± 2.8 μm, and on standard “inlay” test specimens, 1.3 ± 0.4 μm.


Intelligent scanning technology
Unique 5-axis scanning technology and large working area with its robot arm


Comfortable
The large operating range allows positioning of most common articulators and gives fast, unobstructed access to the scan object.


Open
STL data export for a free choice of design and production components


Intuitive interface
Clear software interface and intuitive operation result in digital models with just a few clicks
Applications
Scan technology – Made in Germany. All inEos X5 components were specially developed in Germany for dental applications according to strict quality standards. The inEos X5 ensures precise digital registration of all indication types with its robot arm, unique 5-axis scanning technology combined with large working area.
Downloads
Please find below the most recent Software and document versions. Further resources are provided within our Download Centre.
Technical Details
| Data |
Dimensions (W x H x D) in mm | 474 x 735 x 460 |
Weight | 40 kg |
Mains voltage | 100–240 V |
Mains frequency | 47–63 Hz |
Power consumption | 150 W |
Scanning technique | Digital light stripe projection |
Scan material | All commonly used dental model casts (except strongly absorbent, reflecting or transparent materials) |
Interfaces | USB 2.0 |
Network connection | via scanner PC: LAN / WiFi (optional) |
* The accuracy of the results of the inEos X5 with inLab CAD SW 16.0 was verified according to DIN EN ISO 12836.2015. The demonstrated accuracy on standard “bridge” test specimens was at 2.1 ± 2.8 μm, and on standard “inlay” test specimens 1.3 ± 0.4 μm.


